安妮 岳排槐 发自 凹非寺
量子位 出品 | 公众号 QbitAI
如果你的心里只有一件事。
请问:是不是学习?
Google希望你是,而且还准备扶上马,再送一程。
所以今天一早,大礼包又来了。

手把手教你
今年春天,Google发布了机器学习速成课,英文简称MLCC。而且这套基本全程都有中文的课程,还是完全免费的。

这还不够。
Google觉得光学理论还不够,必须教你理论与实战相结合。
所谓:知行合一。
于是,Google发布了最新的一套课程:Machine Learning Practica(机器学习实践)。这套课程会示范Google如何在产品中使用机器学习。

课程地址在此:
https://developers.google.com/machine-learning/practica/
(.cn域名地址亲测可用)
与之前的课程不同,这套动手实践课程中,包括视频、文档和交互式编程练习。目前已经上线的第一课是图像分类。
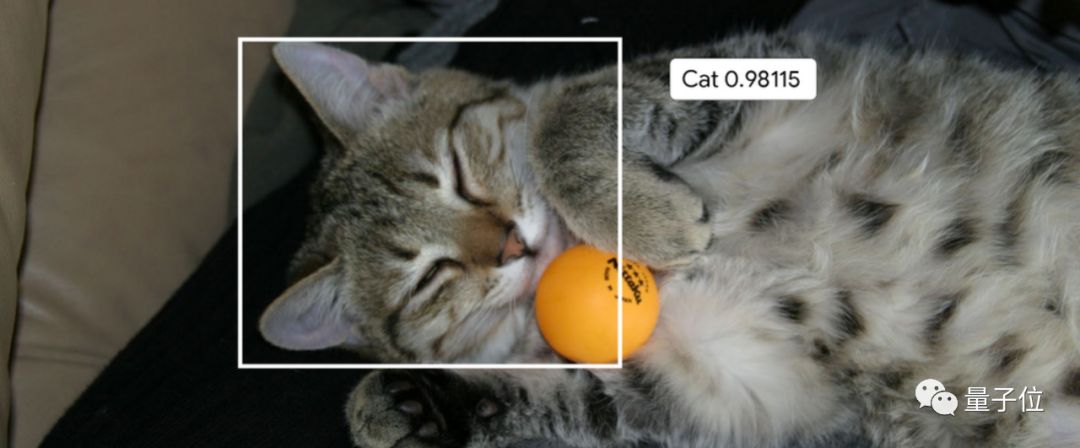
在图像分类的实践课程中,可以学习Google如何开发利用最先进的图像分类模型,这也是Google相册背后的核心技术。
迄今为止,已有超过1万名Google员工利用这个实践课程来训练他们自己的图像分类器,最终实现可以识别照片中的猫猫狗狗。
课前准备
想要学习这套课程,也有一些基础要求。
主要是两点:
这套实践课程使用了Keras API。以及课程中的编程练习,使用了Colab。使用Colab不要求之前有过Keras经验。
课程中代码基本可算是提供了逐步的解释。
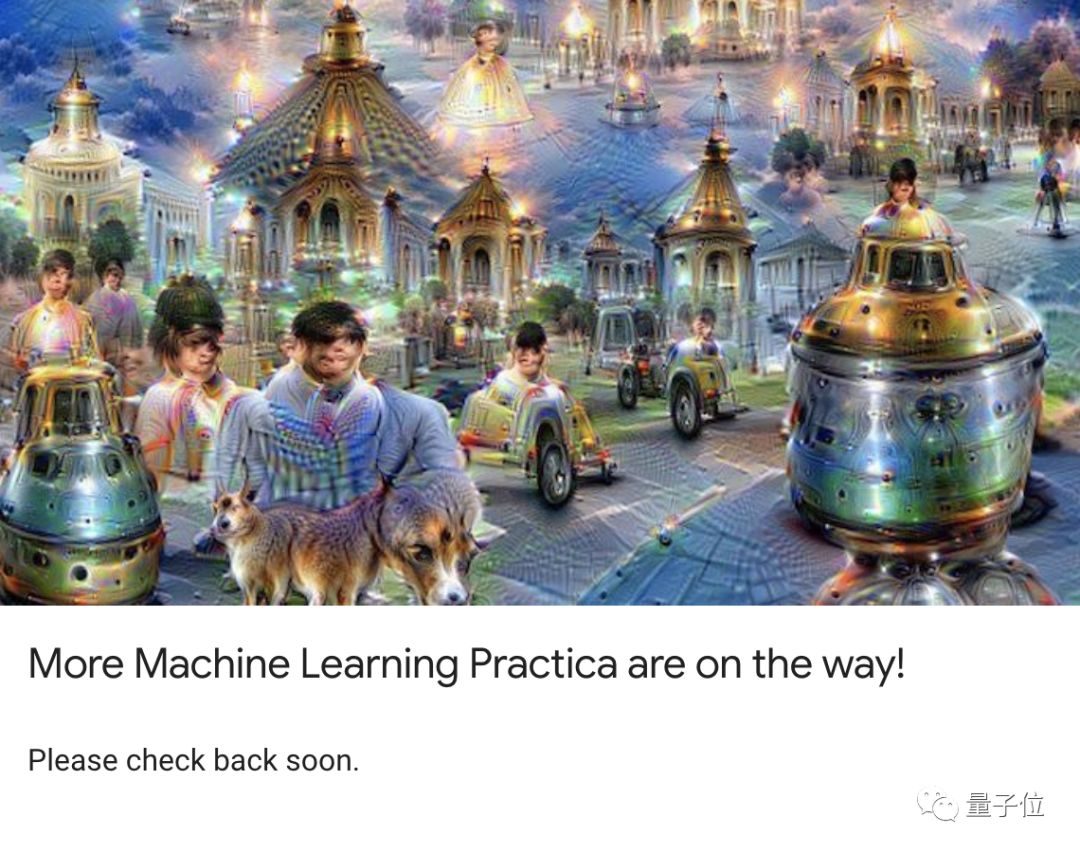
目前这套实践课程只发布了图像分类一组,但Google表示更多的实践课程正在:肮!啧!味!
课程简介
在这个课程中,Google首先介绍了图像分类的基本原理,讲述了卷积神经网络(CNN)的构建,以及池化、全连接等概念。
然后,Google会引导你从头开始构建一个CNN网络,并且学习如何防止过拟合,以及利用训练模型进行特征提取和微调。
实践课程一共包括三组练习,分别是:
Exercise 1: Build a Convnet for Cat-vs-Dog Classification
带你构建一个猫狗分类的卷积网络。
Exercise 2: Preventing Overfitting
教你如何防止过拟合,改善提高CNN模型。
Exercise 3: Feature Extraction and Fine-Tuning
教你如何通过特征提取和微调来使用Google的Inception v3模型,并为上面两个练习完成的分类器获取更好的准确性。
课程示范
量子位潜入这个课程内部,带回了第二个实践练习。在这堂课里,谷歌想教会大家在猫狗图像分类中,如何减少过拟合。大家感受一下——

练习2:减少过拟合
预计完成时间:30分钟
在本节练习中,我们将基于在练习1中创建的模型将猫狗分类,并通过一些策略减少过拟合:也就是数据增强(Data Augmentation)和正则化方法dropout,从而提高准确性。
和长颈鹿被关进冰箱一样,这得分四步走:
通过对训练图像进行随机转换,来探索数据增强的玩法
在我们数据处理的过程中应用数据增强
在转换中加入dropout
重新训练模型,评估损失和精确度
Let’s get started吧!
数据增强の探索
数据增强是减少视觉模型过拟合的基本方法了,因为我们手头的训练实例为数不多,为了充分利用,我们可通过一些随机的变换“增强”它们,对模型来说,这是不同的图像~
这可以通过在ImageDataGenerator实例读取的图像上增加一些随机转换来实现,比如:
1from keras.preprocessing.image import ImageDataGenerator
2
3
datagen = ImageDataGenerator(
4 rotation_range=40,
5 width_shift_range=0.2,
6 height_shift_range=0.2,
7 shear_range=0.2,
8 zoom_range=0.2,
9 horizontal_flip=True,
10 fill_mode='nearest')
还有一些可用的选择:
rotation_range是在0-180之间的一个值,可在此角度内随机旋转图片。
width_shift和height_shift是个范围,指的总宽度或高度的一部分,图像可在此范围内垂直或水平随机转换。
shear_range用于随机剪切。
zoom_range用来随机缩放图片的。
horizontal_flip用于水平随机翻转图像的一半。
fill_mode是用来填充新创造的像素,在图像随机垂直或水平变换后可能用到
注意:此练习中使用的2000张图片摘自Kaggle上的“狗vs猫”数据集,包含25000张图片。为了节约训练时间,这里我们只用到其中的一个子集。
1!wget --no-check-certificate \
2 https://storage.googleapis.com/mledu-datasets/cats_and_dogs_filtered.zip -O \
3 /tmp/cats_and_dogs_filtered.zip
1import os
2import zipfile
3
4local_zip = '/tmp/cats_and_dogs_filtered.zip'
5zip_ref = zipfile.ZipFile(local_zip, 'r')
6zip_ref.extractall('/tmp')
7zip_ref.close()
8
9base_dir = '/tmp/cats_and_dogs_filtered'
10train_dir = os.path.join(base_dir, 'train')
11validation_dir = os.path.join(base_dir, 'validation')
12
13
14train_cats_dir = os.path.join(train_dir, 'cats')
15
16
17train_dogs_dir = os.path.join(train_dir, 'dogs')
18
19
20validation_cats_dir = os.path.join(validation_dir, 'cats')
21
22
23validation_dogs_dir = os.path.join(validation_dir, 'dogs')
24
25train_cat_fnames = os.listdir(train_cats_dir)
26train_dog_fnames = os.listdir(train_dogs_dir)
接下来,我们将datagen转换应用到训练集里的猫咪图像,生成5个随机变量。这个单元需多运行几次,找到新批次中的随机变量。
1%matplotlib inline
2
3import matplotlib.pyplot as plt
4import matplotlib.image as mpimg
5
6from keras.preprocessing.image import array_to_img, img_to_array, load_img
7
8img_path = os.path.join(train_cats_dir, train_cat_fnames[2])
9
img = load_img(img_path, target_size=(150, 150))
10x = img_to_array(img)
11x = x.reshape((1,) + x.shape)
12
13
14
15i = 0
16for batch in datagen.flow(x, batch_size=1):
17 plt.figure(i)
18 imgplot = plt.imshow(array_to_img(batch[0]))
19 i += 1
20 if i % 5 == 0:
21 break
在数据处理过程中应用数据增强
现在,将上述增强的数据应用到数据预处理配置中——
1
2
3train_datagen = ImageDataGenerator(
4 rescale=1./255,
5 rotation_range=40,
6 width_shift_range=0.2,
7 height_shift_range=0.2,
8 shear_range=0.2,
9 zoom_range=0.2,
10 horizontal_flip=True,)
11
12
13test_datagen = ImageDataGenerator(rescale=1./255)
14
15
16train_generator = train_datagen.flow_from_directory(
17 train_dir,
18 target_size=(150, 150),
19 batch_size=20,
20
21 class_mode='binary')
22
23
24validation_generator = test_datagen.flow_from_directory(
25 validation_dir,
26 target_size=(150, 150),
27 batch_size=20,
28 class_mode='binary')
神奇之处是,若用增强的数据来训练模型,则不会被认为是相同示例(虽然它们都是从一张图片上得到的)。不过模型眼中这些输入仍紧密相关的,所以还不足以完全消除过拟合。
加入Dropout
不过~还有另外一种流行的策略能减少过拟合,即dropout。
如果你想了解过拟合的基本概念,这里自卖自夸推荐两个之前免费课程中的相关介绍:
https://developers.google.com/machine-learning/crash-course/training-neural-networks/video-lecture
https://developers.google.com/machine-learning/crash-course/
我们从练习1重新配置我们的convnet架构,在最后的分类层前试图添加一些dropout。
1from keras.models import Model
2from keras import layers
3from keras.optimizers import RMSprop
4from keras import backend as K
5
6import tensorflow as tf
7
8
9tf_config = tf.ConfigProto(
10 gpu_options=tf.GPUOptions(allow_growth=True))
11K.set_session(tf.Session(config=tf_config))
12
13
14
15img_input = layers.Input(shape=(150, 150, 3
))
16
17
18
19x = layers.Conv2D(16, 3, activation='relu')(img_input)
20x = layers.MaxPooling2D(2)(x)
21
22
23
24x = layers.Conv2D(32, 3, activation='relu')(x)
25x = layers.MaxPooling2D(2)(x)
26
27
28
29x = layers.Convolution2D(64, 3, activation='relu')(x)
30x = layers.MaxPooling2D(2)(x)
31
32
33x = layers.Flatten()(x)
34
35
36x = layers.Dense(512, activation='relu')(x)
37
38
39x = layers.Dropout(0.5)(x)
40
41
42output = layers.Dense(1, activation='sigmoid')(x)
43
44
45model = Model(img_input, output)
46model.compile(loss='binary_crossentropy',
47 optimizer=RMSprop(lr=0.001),
48 metrics=['acc'])
重新训练模型
随着数据的增加和dropout的填入,我们需要重新训练convnet模型。
这一次,我们训练全部的2000张图片,训练了30轮,并对验证了所有的1000个测试图像。
这可能需要几分钟的时间,检验一下你是否能自己编写代码了。
1
2
评估结果
接下来,我们用数据增强和dropout评估模型训练的结果。
1
2
3acc = history.history['acc']
4val_acc = history.history['val_acc']
5
6
7
8loss = history.history['loss']
9val_loss = history.history['val_loss']
10
11
12epochs = range(len(acc))
13
14
15plt.plot(epochs, acc)
16plt.plot(epochs, val_acc)
17plt.title('Training and validation accuracy')
18
19plt.figure()
20
21
22plt.plot(epochs, loss)
23plt.plot(epochs, val_loss)
24plt.title('Training and validation loss')
结果不错!模型已经不再过拟合。
事实上,从我们的训练资料来看,随着训练次数的增加,模型的准确度会达到80%!
清理
在运行练习3之前,我们还需要运行以下单元来释放kernel和空闲的内存资源:
1import os, signal
2os.kill(os.getpid(), signal.SIGKILL)
One More Thing
不知道是不是忙中出错,Google这套全新的课程,在我们发稿的时候,出现了一个尴尬的问题:练习课程无法访问。
你点击练习之后,原本应该是转入一个Colab页面,但是却把多数用户挡在一个这样的界面之上。如图:

链接地址:https://login.corp.google.com
这是啥?
其实,这就是大名鼎鼎的moma,一个Google内部的搜索工具。如果你是Google员工,就能登录访问,进入Google内网。
可能是因为这套实践课程,和MLCC一样,也是之前面向Google内部的课程,所以出现了现在略微尴尬的一幕。
不过我们推送前,这个问题已经修复了。
最后,推荐一些之前的课程。

量子位正在招募编辑/记者,工作地点在北京中关村。期待有才气、有热情的同学加入我们!相关细节,请在量子位公众号(QbitAI)对话界面,回复“招聘”两个字。


