教你做python跨年表白神器 点赞收藏后,快去表白!!!
hello,大家好,我是Dream。马上就跨年了,为了广大的单身男性成员,我就慈悲一下,把我的存货–表白神器拿出来了,百试百灵(虽然我一次也没试过),今天分享给大家,别忘了给我点赞哟~
话不多说,先看效果图:
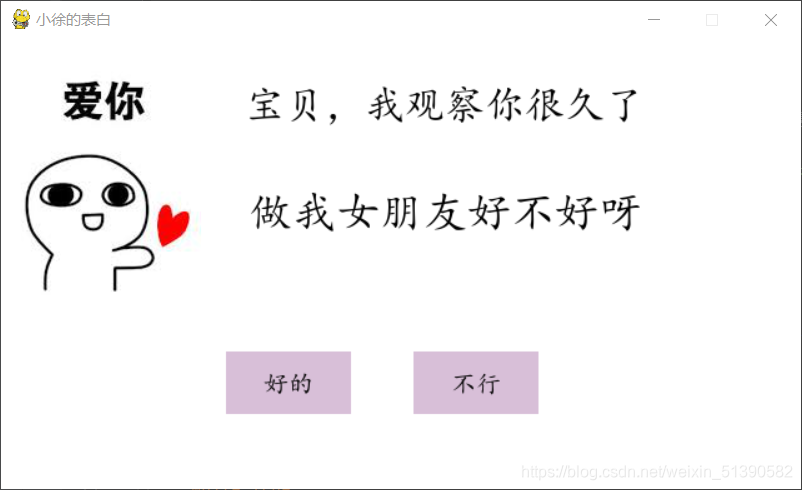
从图上看,很明显这是一个选择题,但代码的神奇之处就在这里,当她把鼠标拖到‘不行’的地方时,奇迹发生了,当当当~
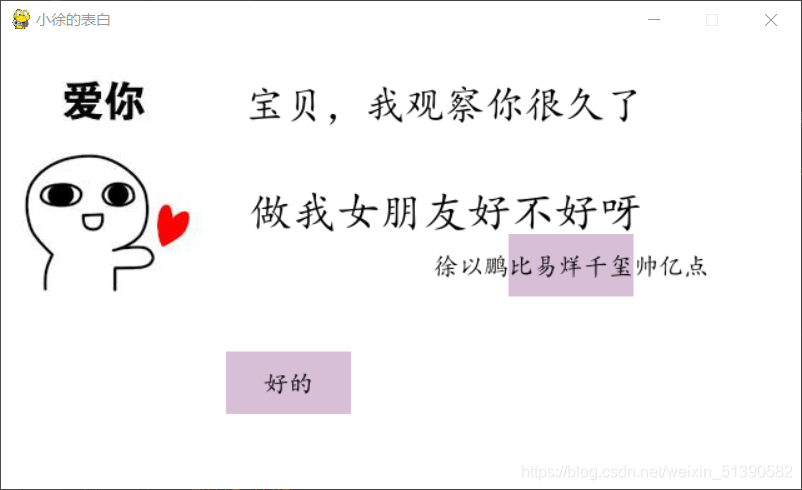
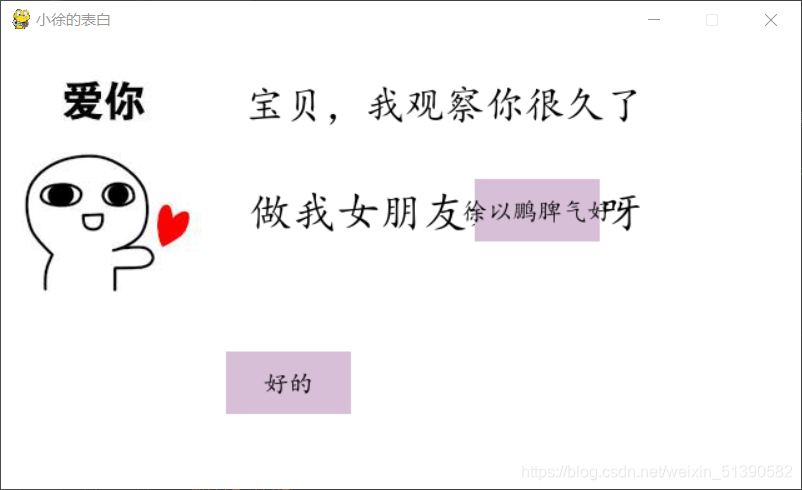
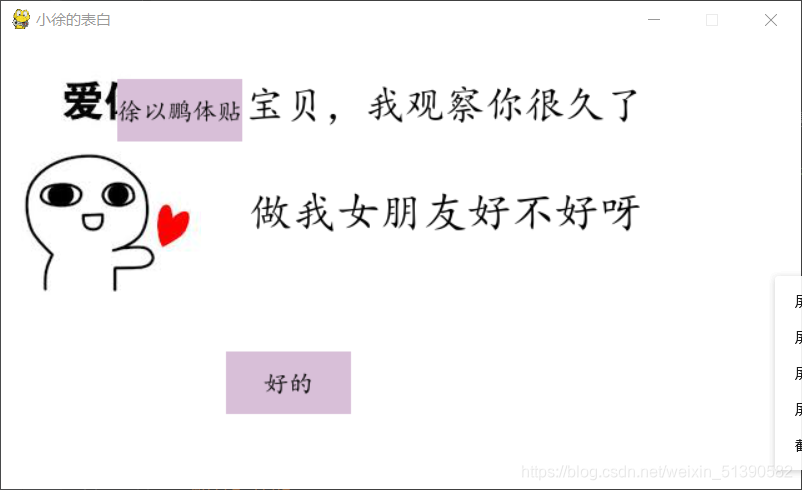
屏幕上会轮番展示出你的优点,这是我的优点(我只是实话实说的哟)
最最最
重要的是她关不掉窗口,重要的事说三遍:关不掉 关不掉 关不掉 就是关不掉!!!气死她哈哈哈。。。(你好贱,我好爱)
她只能选择好的,然后…(你懂得嘿嘿嘿)

说了折磨多,你们是不是非常期待我的代码呀,看代码之前,别忘了先点个关注哟~
接下来,代码展示:
import sys
import pygame
import random
WIDTH, HEIGHT = 640, 360
bg_color = (255, 255, 255)
button_text_list = ['徐以鹏比易烊千玺帅亿点', '徐以鹏脾气好', '徐以鹏会洗衣服', '徐以鹏体贴']
def show_like_interface(text, screen, color=(255, 0, 0)):
screen.fill(bg_color)
font = pygame.font.Font('./font/simkai.ttf', WIDTH // (len(text)))
textRender = font.render(text, True, color)
textRect = textRender.get_rect()
textRect.midtop = (WIDTH / 2, HEIGHT / 2)
screen.blit(textRender, textRect)
pygame.display.update()
while True:
for event in pygame.event.get():
if event.type == pygame.QUIT:
pygame.quit()
sys.exit()
def button(text, x, y, w, h, color, screen):
pygame.draw.rect(screen, color, (x, y, w, h))
font = pygame.font.Font('./font/simkai.ttf', 20)
textRender = font.render(text, True, (0, 0, 0))
textRect = textRender.get_rect()
textRect.center = ((
x + w / 2), (y + h / 2))
screen.blit(textRender, textRect)
def title(text, screen, scale, color=(0, 0, 0)):
font = pygame.font.Font('./font/simkai.ttf', WIDTH // (len(text) * 2))
textRender = font.render(text, True, color)
textRect = textRender.get_rect()
textRect.midtop = (WIDTH / scale[0], HEIGHT / scale[1])
screen.blit(textRender, textRect)
def get_random_pos():
x, y = random.randint(20, WIDTH - 20), random.randint(20, HEIGHT - 20)
return x, y
def main():
text = "不行"
pygame.init()
screen = pygame.display.set_mode((WIDTH, HEIGHT))
pygame.display.set_caption("小徐的表白")
unlike_pos_x = 330
unlike_pos_y = 250
unlike_pos_width = 100
unlike_pos_height = 50
like_pos_x = 180
like_pos_y = 250
like_pos_width = 100
like_pos_height = 50
running = True
like_color = (216, 191, 216)
while running:
screen.fill(bg_color)
img = pygame.image.load("./imgs/3.jpg")
imgRect = img.get_rect()
imgRect.midtop = 80, 10
screen.blit(img, imgRect)
for event in pygame.event.get(
):
if event.type == pygame.MOUSEBUTTONDOWN:
mouse_pos = pygame.mouse.get_pos()
if mouse_pos[0] < like_pos_x + like_pos_width and mouse_pos[0] > like_pos_x and mouse_pos[
1] < like_pos_y + like_pos_height and mouse_pos[1] > like_pos_y:
like_color = bg_color
running = False
mouse_pos = pygame.mouse.get_pos()
if mouse_pos[0] < unlike_pos_x + unlike_pos_width and mouse_pos[0] > unlike_pos_x and \
mouse_pos[1] < unlike_pos_y + unlike_pos_height and mouse_pos[1] > unlike_pos_y:
while True:
unlike_pos_x, unlike_pos_y = get_random_pos()
text = button_text_list[random.randint(0, len(button_text_list) - 1)]
if mouse_pos[0] < unlike_pos_x + unlike_pos_width and mouse_pos[0] > unlike_pos_x and \
mouse_pos[1] < unlike_pos_y + unlike_pos_height and mouse_pos[1] > unlike_pos_y:
continue
break
title('宝贝,我观察你很久了', screen, scale=[1.8, 10])
title('做我女朋友好不好呀', screen, scale=[1.8, 3])
button('好的', like_pos_x, like_pos_y, like_pos_width,
like_pos_height, like_color, screen)
button(text, unlike_pos_x, unlike_pos_y, unlike_pos_width,
unlike_pos_height, (216, 191, 216), screen)
pygame.display.flip()
pygame.display.update()
pygame.time.Clock().tick(60)
show_like_interface('我就知道小姐姐你也喜欢我~', screen, color=(0, 0, 0))
if __name__ == '__main__':
main()
- 1
- 2
- 3
- 4
- 5
- 6
- 7
- 8
- 9
- 10
- 11
- 12
- 13
- 14
- 15
- 16
- 17
- 18
- 19
- 20
- 21
- 22
- 23
- 24
- 25
- 26
- 27
- 28
- 29
- 30
- 31
- 32
- 33
- 34
- 35
- 36
- 37
- 38
- 39
- 40
- 41
- 42
- 43
- 44
- 45
- 46
- 47
- 48
- 49
- 50
- 51
- 52
- 53
- 54
- 55
- 56
- 57
- 58
- 59
- 60
- 61
- 62
- 63
- 64
- 65
- 66
- 67
- 68
- 69
- 70
- 71
- 72
- 73
- 74
- 75
- 76
- 77
- 78
- 79
- 80
- 81
- 82
- 83
- 84
- 85
- 86
- 87
- 88
- 89
- 90
- 91
- 92
- 93
- 94
- 95
- 96
- 97
- 98
- 99
- 100
- 101
- 102
- 103
- 104
- 105
- 106
- 107
- 108
- 109
- 110
- 111
- 112
- 113
- 114
- 115
- 116
- 117
- 118
- 119
- 120
- 121
- 122
- 123
- 124
- 125
- 126
- 127
- 128
- 129
- 130
- 131
- 132
- 133
- 134
- 135
- 136
- 137
- 138
- 139
- 140
- 141
- 142
- 143
- 144
- 145
- 146
- 147
- 148
- 149
- 150
- 151
- 152
- 153
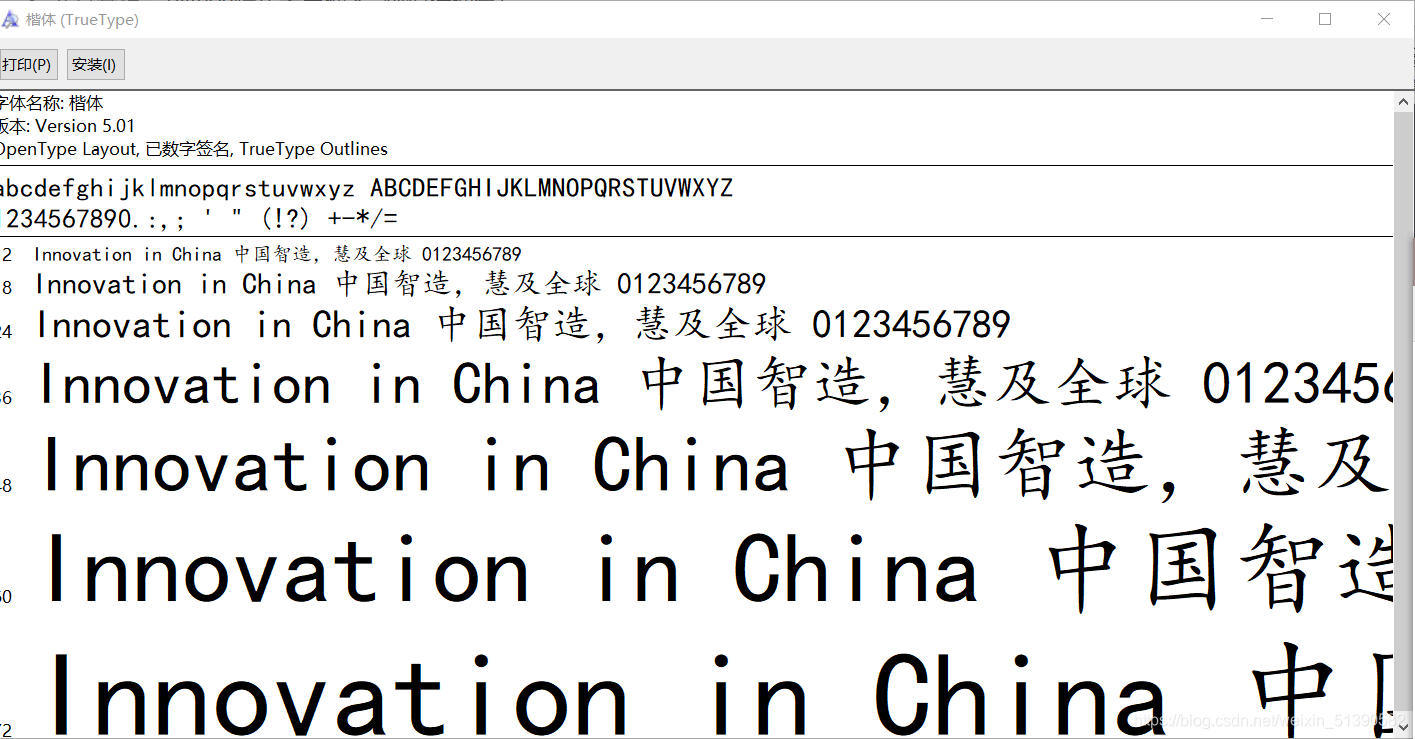
当然在运行这个代码之前,你还需要在同一路径下装上这个楷体语言包
还有这张图片哟~

祝你表白成功,在新的一年里可以和自己喜欢的人在一起!
如果你喜欢的话,就不要吝惜你的一键三连了~
谢谢大家!


