访问控制规则如下:
deny IP/IP 段:拒绝某个 IP 或 IP 段的客户端访问。
allow IP/IP 段:允许某个 IP 或 IP 段的客户端访问。
规则从上往下执行,如匹配则停止,不再往下匹配。
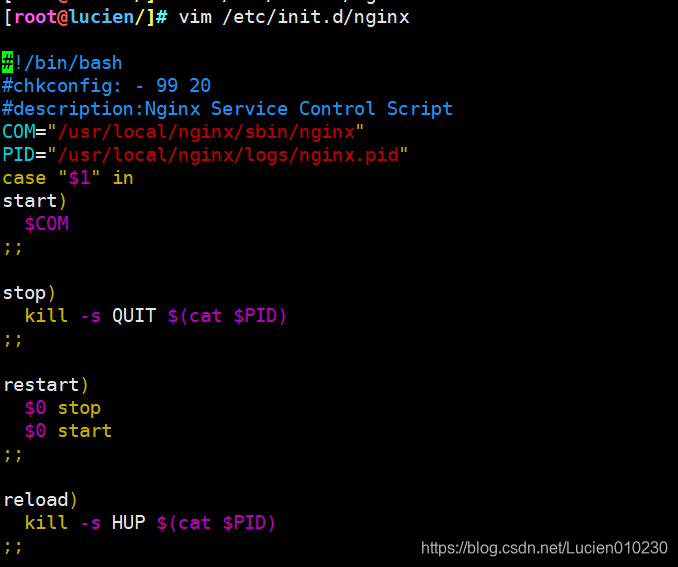
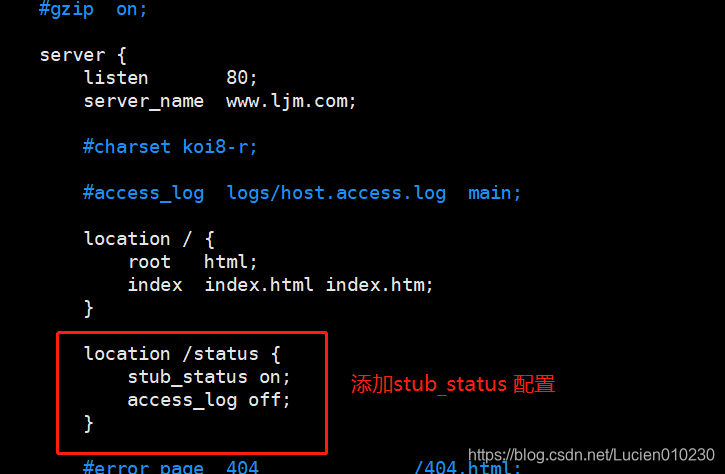
vim /usr/local/nginx/conf/nginx.conf
......
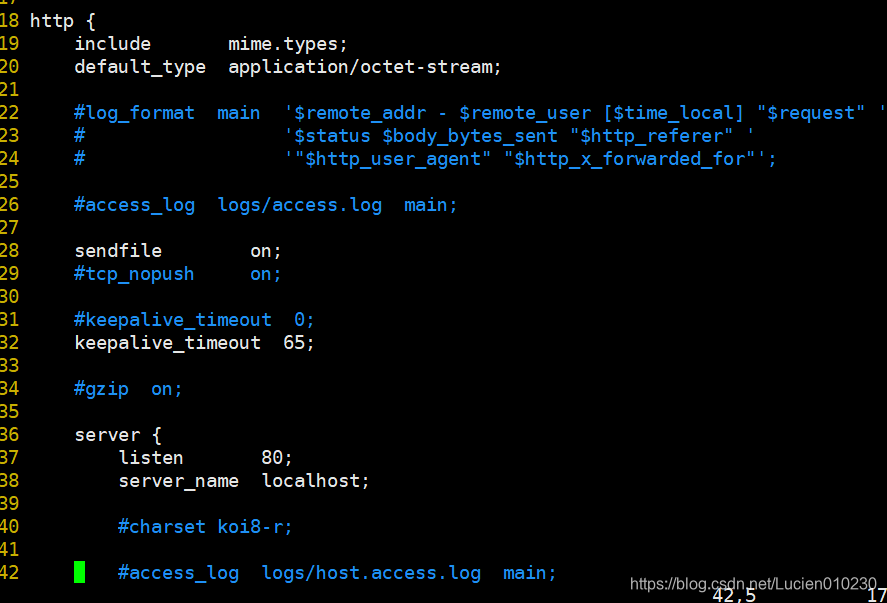
server {
location /{......
##添加控制规则##
deny 192.168.184.31; #拒绝访问的客户端 IP
allow all; #允许其它IP客户端访问
}}
systemctl restart nginx
1
2
3
4
5
6
7
8
9
10
11
12
13
14
15
16
17
1
2
3
4
5
6
7
8
9
10
11
12
13
14
15
16
17
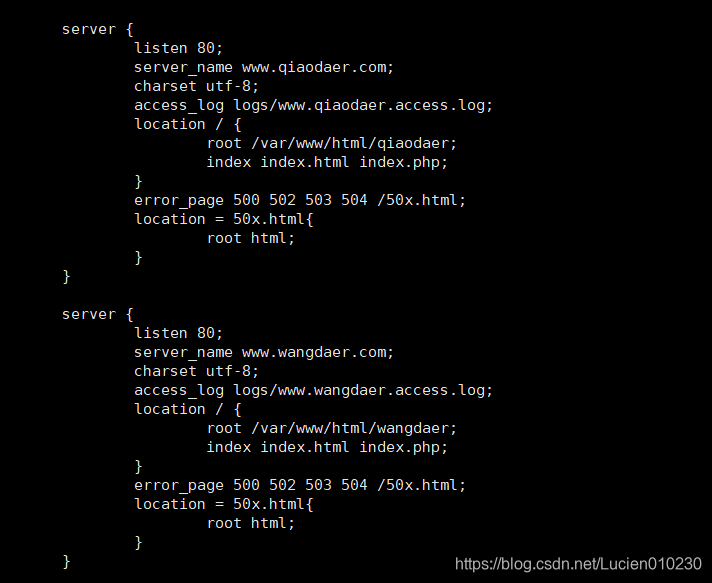
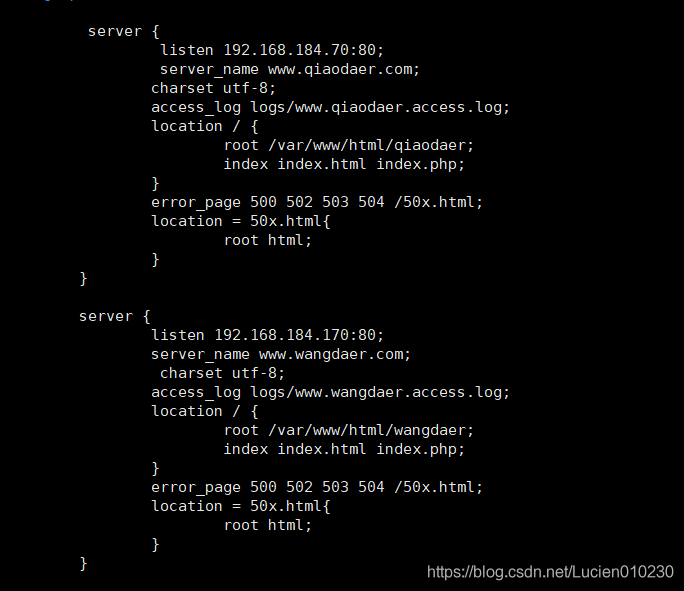
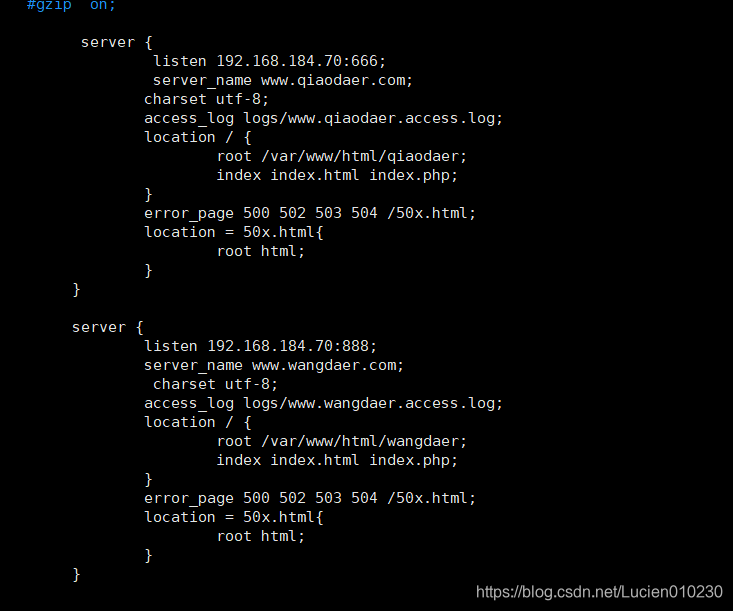
三、构建 Nginx 虚拟 web 主机
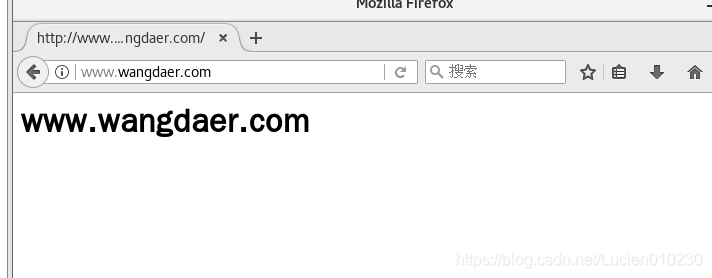
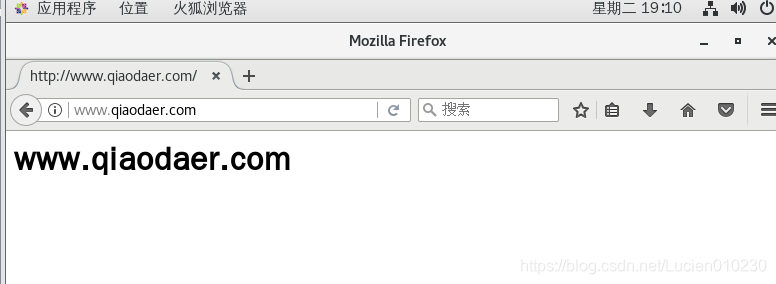
1、基于域名的虚拟主机
①、为虚拟主机提供域名解析
方法一:部署DNS域名解析服务器,来提供域名解析(脚本内容)
#!/bin/bash
mount /dev/sr0 /mnt
yum -y install bind &>/dev/null
#修改主配置文件 :/etc/named.conf
sed -i 's/127.0.0.1;/any;/'/etc/named.conf
sed -i 's/localhost;/any;/'/etc/named.conf
for((;;))do
read -p "请输入你需要配置的域名(例www.abc.com):" a
b=`echo $a | awk -F "."'BEGIN{OFS="."}{$2=$2;print$2,$3}'`
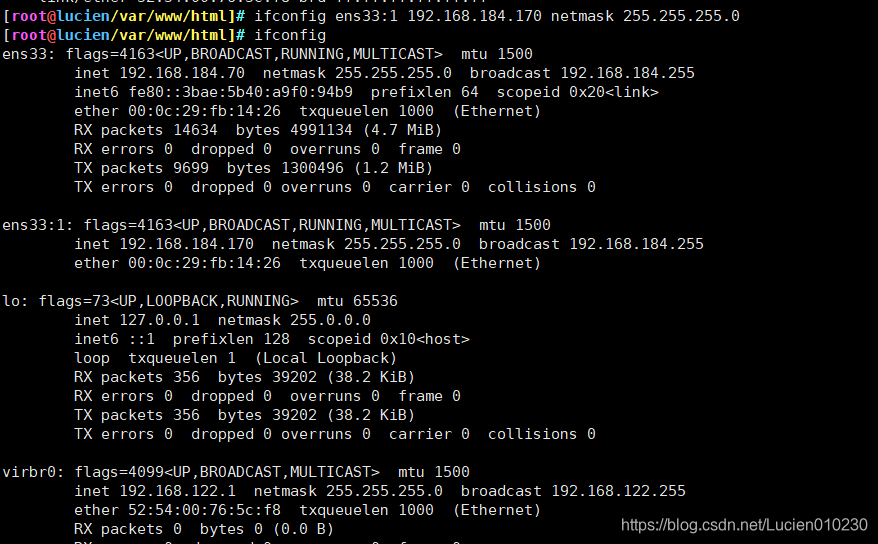
c=`ip a | grep "ens33"| awk NR==2'{print}'| awk -F/'{print$1}'| awk '{print$2}'`
#修改区域配置文件 :/etc/named.rfc1912.zones
echo "zone \"$b\" IN {
type master;
file \"$b.zone\";
allow-update { none;};};" >>/etc/named.rfc1912.zones
#修改区域数据配置文件 :/var/named/named.localhost
cd /var/named
cp
-p named.localhost $b.zone
sed -i "2c @ IN SOA $b. rname.invalid. ("/var/named/$b.zone
sed -i "8c NS $b."/var/named/$b.zone && sed -i "8 s/^/\t/"/var/named/$b.zone
sed -i "9c A $c"/var/named/$b.zone && sed -i "9 s/^/\t/"/var/named/$b.zone
sed -i "10c www IN A $c"/var/named/$b.zone
#添加指定dns服务器
sed -i "2c nameserver $c"/etc/resolv.conf
read -p "是否需要继续添加(y/n):" d
case $d in
y)continue;;
n)
#关闭系统防火墙和系统安全机制
systemctl stop firewalld
setenforce 0
#开启dns服务
systemctl restart named
break;;*)
echo "请正确输入"
systemctl stop firewalld
setenforce 0
systemctl restart named
break
esac
done