前言
Pillow作为一个图片模块。可谓是真的简便强大,它的前身是PIL,后来将他取代,现在的pillow 可谓是一家独大,好了,让我们来看看他的具体用法。
今天我们介绍pillow 常用六大模块:
1.Image
2.ImageDraw
3.ImageEnhance
4.ImageFont
5.ImageGrab
6.ImageFilter
一、Image
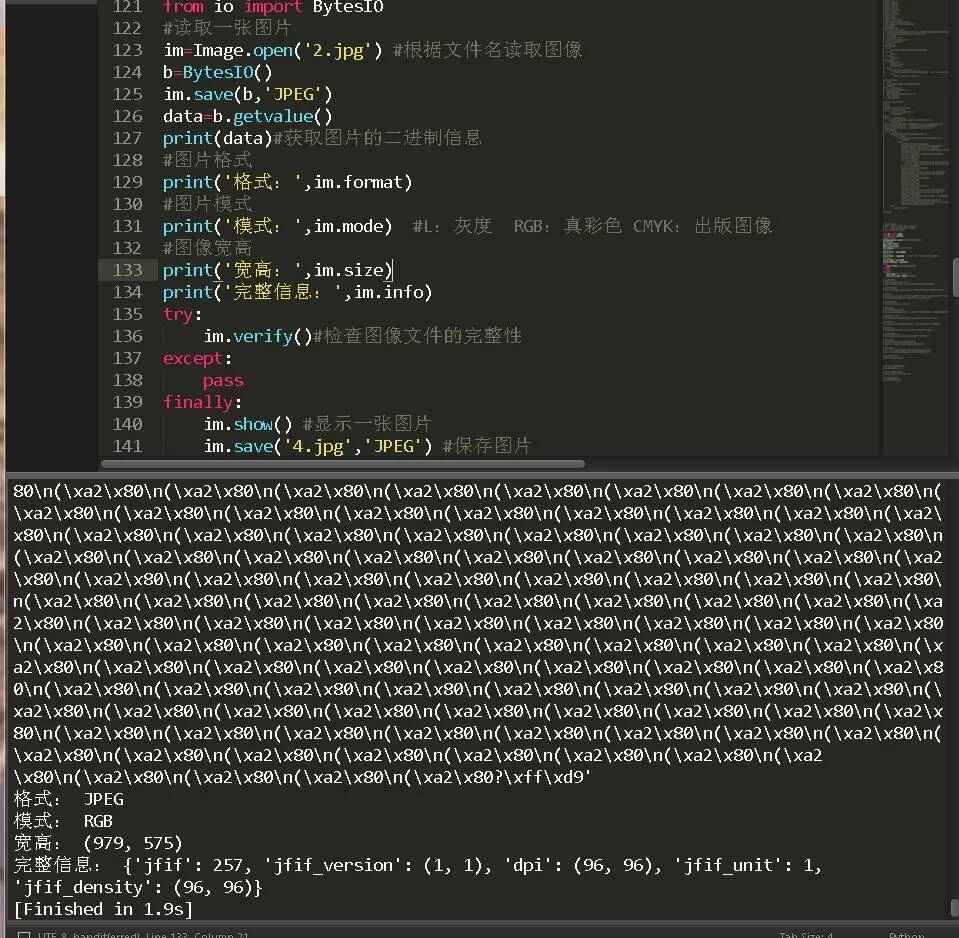
from PIL import Imagefrom io import BytesIOim=Image.open('2.jpg') b=BytesIO()im.save(b,'JPEG')data=b.getvalue()print(data)print('格式:',im.format)print('模式:',im.mode) print('宽高:',im.size)print('完整信息:',im.info)try: im.verify()except: passfinally: im.show() im.save('4.jpg','JPEG')
from PIL import Imagefrom io import BytesIOimport requestsim1=Image.new('RGBA',(400,400),'red')res=requests.get('http://pic.sc.chinaz.com/files/pic/pic9/202003/zzpic24077.jpg').contentim2=Image.frombytes('RGB',(100,100),data=res)im2=Image.open(BytesIO(res))b=BytesIO()im2.save(b,format="PNG")im2.show()
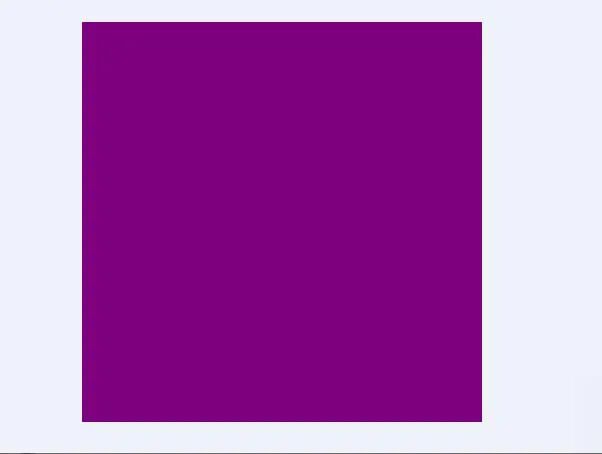
im1=Image.new('RGBA',(400,400),'red')im2=Image.new('RGBA',(400,400),'blue')Image.blend(im1,im2,0.5)
im1.point(lambda x:x*1.2)
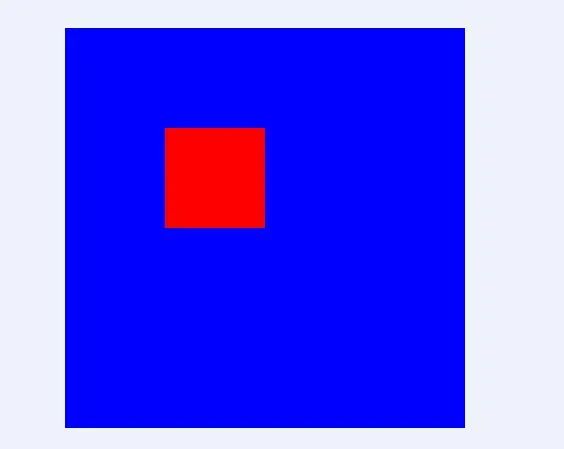
box=(100,100,200,200)region=im.crop(box)
im1.paste(region,box)
im1=Image.new('RGB',(400,400),'red')im2=Image.new('RGBA',(400,400),'blue')
r,g,b=im1.split()
print(r,g,b)im3=Image.merge("RGB",(b,g,r))
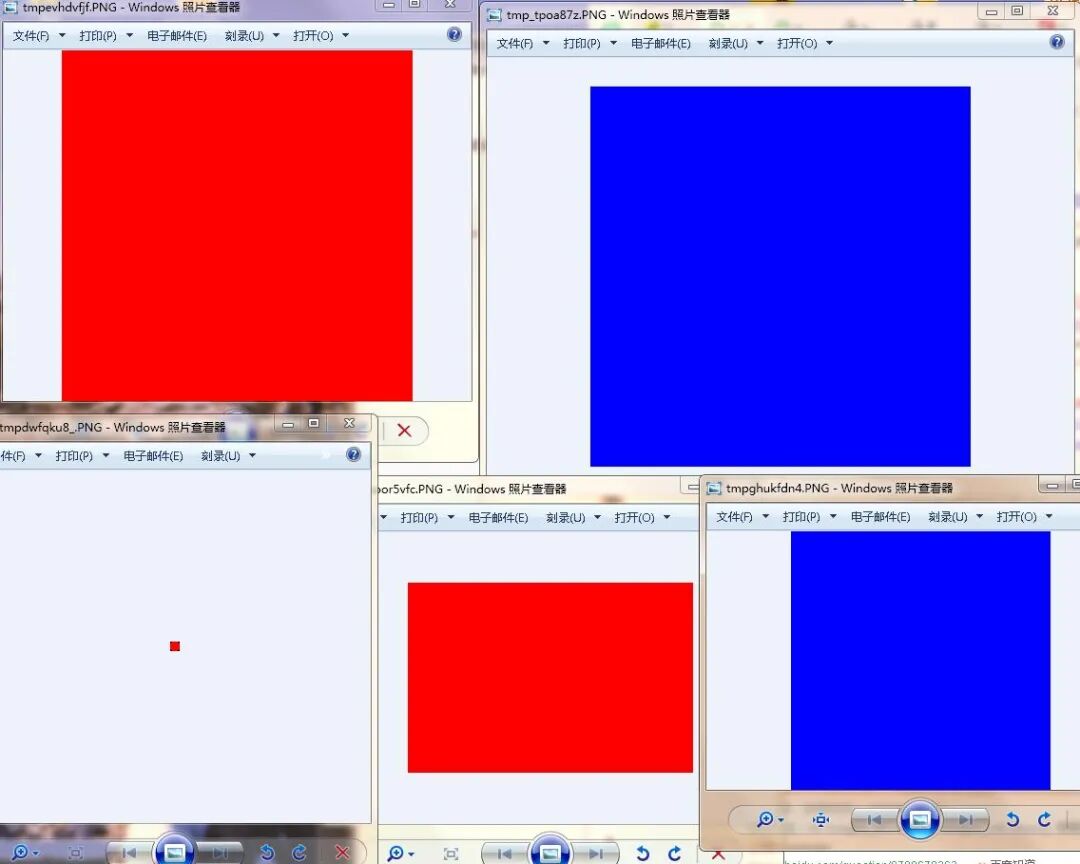
im4=im1.resize((300,200))im4.show()
im5=im1.transpose(Image.FLIP_LEFT_RIGHT) im6=im2.transpose(Image.FLIP_TOP_BOTTOM) im5.show()im6.show()
im1.getpixel((43,23))
im1.putpixel((10,20),(255,32,43))
im1.thumbnail((10,20))im1.show()
im8=im1.rotate(45) im8.show()注:RGB有三个通道,RGBA有四个通道,以上图片显示效果都在图6中
im3.convert('RGBA')modes Description 1 1位像素,黑白图像,存成8位像素 L 8位像素,黑白 P 9位像素,使用调色板映射到任何其他模式RGB 3*8位像素,真彩RGBA4*8位像素,真彩+透明通道CMYK4*8位像素,印刷四色模式或彩色印刷模式YCbCr3*8位像素,色彩视频格式 I 32位整型像素 F 33位浮点型像素
二、ImageDraw
这个模块主要就是画图和打水印时用的,具体方法请看下面:
from PIL import Image,ImageDrawim=Image.open('2.jpg')draw= ImageDraw.Draw(im)draw.point([100,200],fill='blue')
draw.line([100,100,100,600],fill='pink')draw.line([100,100,600,100],fill='green')draw.line([600,100,600,600],'black')draw.line([100,600,600,600],'blue')
draw.arc([100,100,600,600],0,360,fill='black')draw.arc([200,100,500,600],0,360,fill='yellow')
draw.ellipse([100,100,600,
600],outline='black',fill='white')
draw.chord([100,100,600,600],0,360,outline=125)draw.chord([100,100,600,600],0,90,outline=158)draw.chord([100,100,600,600],90,180,outline=99,fill='gray')
draw.pieslice([100,100,600,600],180,210,outline=255)draw.pieslice([100,100,600,600],30,80,fill=255)
draw.polygon([10,23,45,6,77,87],outline='orange')draw.polygon([10,20,30,40,50,90,70,80,90,100],fill='red')
draw.rectangle((200,200,500,500),outline = "white")draw.rectangle((250,300,450,400),fill = 128)
text = 'hello world 'draw.ink = 0 + 0 * 256 + 255 * 256 * 256draw.text([200,100],text)im.show()
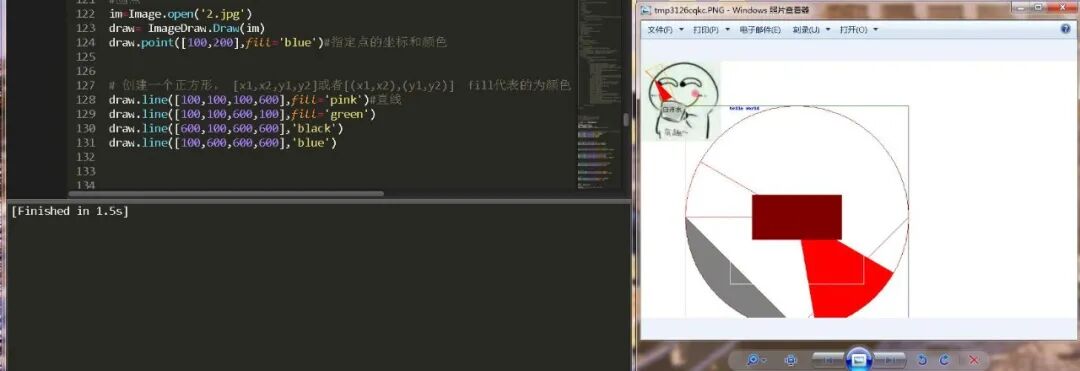
这里每个图形基本都一览无余,如果你的图片像素太小的话,所绘制的图形是不会完整显示在上面的。
三、ImageEnhance
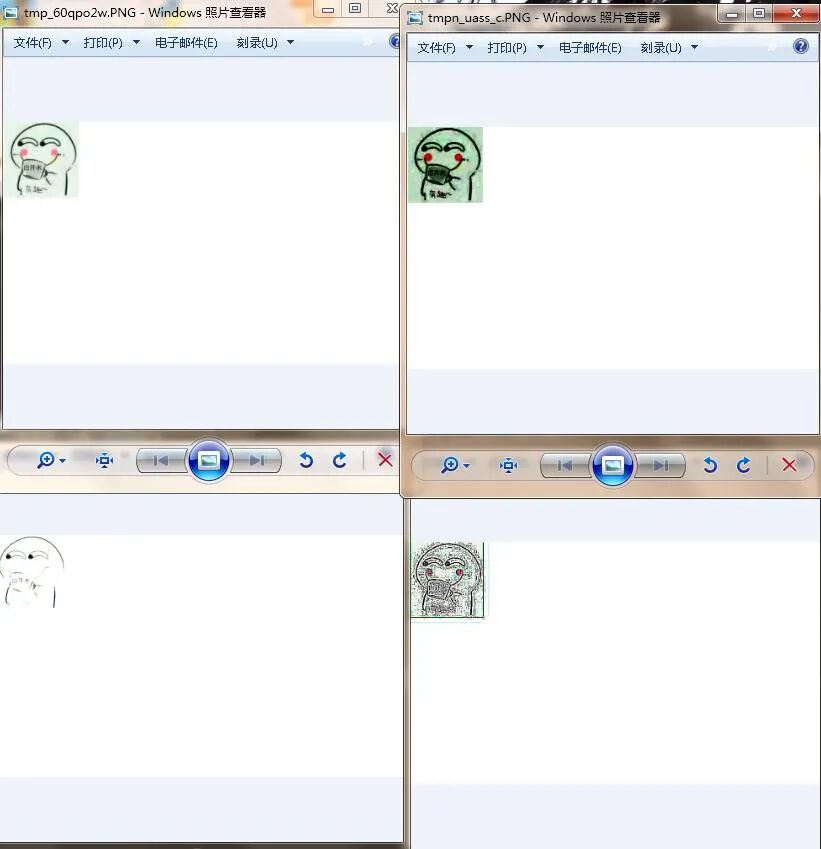
主要是设置图片的颜色对比度亮度锐度啥的,增强图像。
from PIL import ImageEnhance im1=Image.open('4.jpg') cl=ImageEnhance.Color(im1)ce=cl.enhance(1.2)ce.show()ct=ImageEnhance.Contrast(im1)ch=ct.enhance(3.4)ch.show()br=ImageEnhance.Brightness(im1)be=br.enhance(2.2)be.show()sp=ImageEnhance.Sharpness(im1)se=sp.enhance(200)se.show()
四、ImageFont
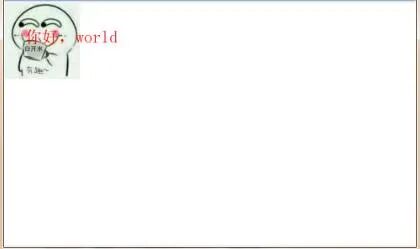
字体模块,主要是读取系统内字体以及给图片添加水印效果
from PIL import Imagefrom PIL import ImageDrawfrom PIL import ImageFontfont=ImageFont.truetype(r'C:\Windows\Fonts\simsun.ttc',size=40)im=Image.open('4.jpg')dw=ImageDraw.Draw(im)dw.text((50,60),'你好,world',fill='red',font=font)im.show()
五、ImageGrab
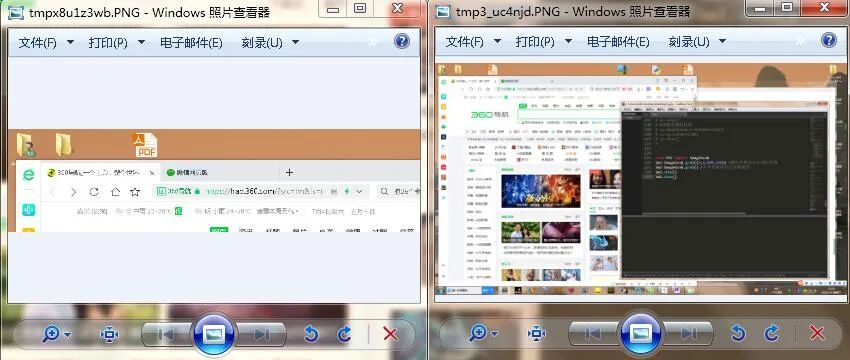
from PIL import ImageGrab im1=ImageGrab.grab((0,0,800,200)) im2=ImageGrab.grab() im1.show()im2.show()
六、ImageFilter
过滤图像的效果。
from PIL import Image, ImageFilter im = Image.open('4.jpg') im1=im.filter(ImageFilter.GaussianBlur) im1.show()im2=im.filter(ImageFilter.BLUR) im2.show()im3=im.filter(ImageFilter.EDGE_ENHANCE) im3.show()im4=im.filter(ImageFilter.FIND_EDGES) im4.show()im5=im.filter(ImageFilter.EMBOSS) im5.show()im6=im.filter(ImageFilter.CONTOUR) im6.show()im7=im.filter(ImageFilter.SHARPEN) im7.show()im8=im.filter(ImageFilter.SMOOTH) im8.show()im9=im.filter(ImageFilter.SMOOTH_MORE) im9.show()im10=im.filter(ImageFilter.DETAIL)im10.show()

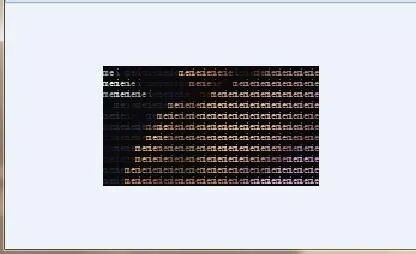
pillow 还算是比较强大的一个 模块,他可以轻松实现截屏 水印效果,并且还可以制作字符画,下面请看:
from PIL import Imagefrom PIL import ImageDrawfrom PIL import ImageFonttxt = 'meimei'font = ImageFont.truetype(r'C:\Windows\Fonts\simsun.ttc',9) im_path = '1.jpg' im = Image.open(im_path)width, height = im.size newImg = Image.new("RGBA",(width, height),(10,10,10)) x=0for i in range(0,height,9): for j in
range(0,width,9): a,b,c=im.getpixel((j,i)) draw = ImageDraw.Draw(newImg) draw.text( (j,i), (txt[x%(len(txt)):x%(len(txt))+3]), fill=(a,b,c),font=font) x+=3 del drawnewImg.save('00.png','PNG')
七、总结
通过对Pillow的学习,相信你现在已经能玩转图片的各种骚操作了,配合词云的话就能生成更具特色的图片了。
Python 程序员深度学习的“四大名著”:
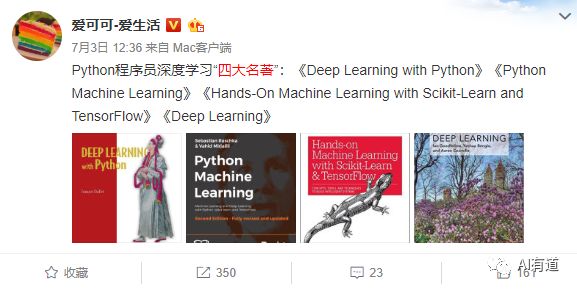
这四本书着实很不错!我们都知道现在机器学习、深度学习的资料太多了,面对海量资源,往往陷入到“无从下手”的困惑出境。而且并非所有的书籍都是优质资源,浪费大量的时间是得不偿失的。给大家推荐这几本好书并做简单介绍。
获得方式: